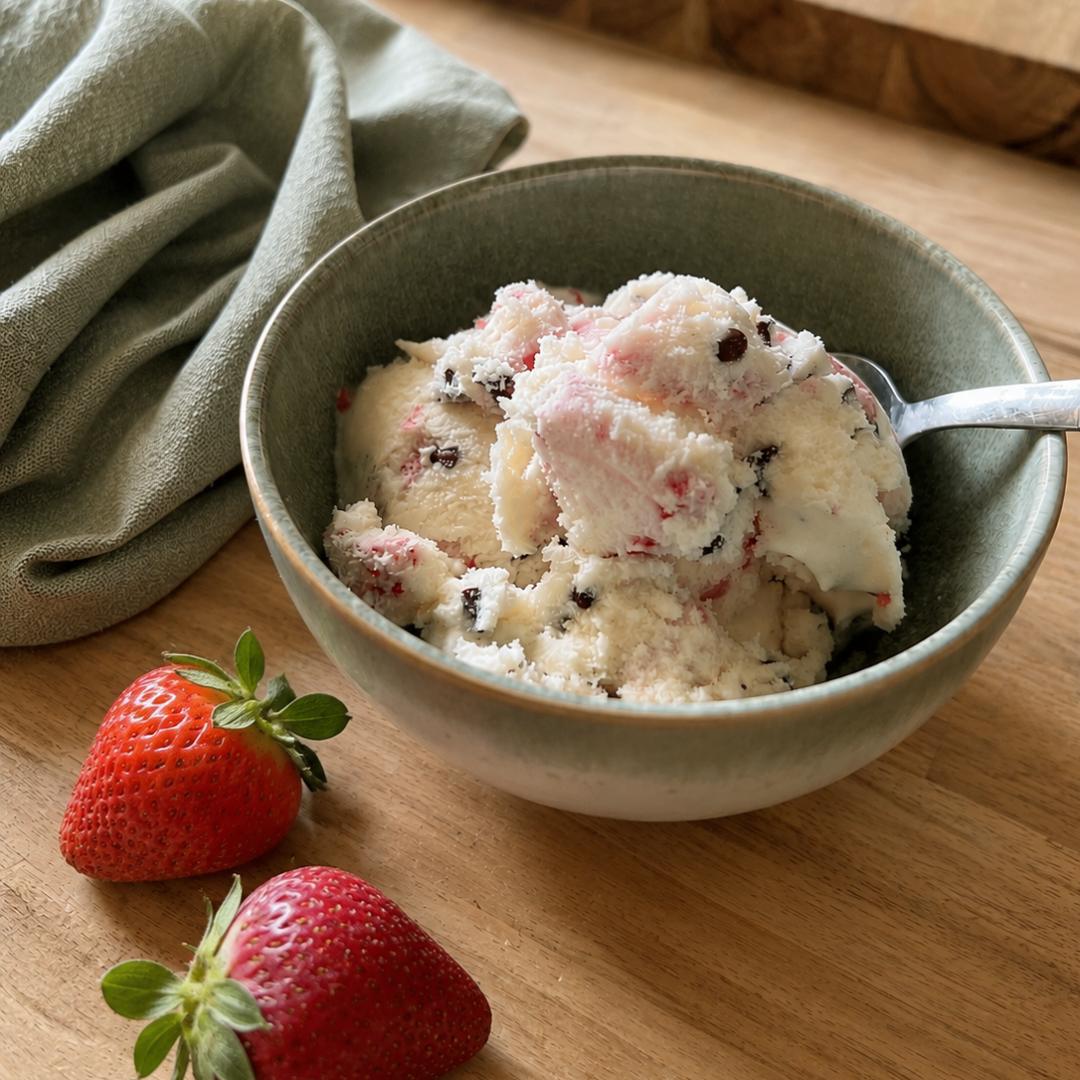
The heat index today is ridiculous — way too hot to spend much time outside — so I wanted something for the kids that was still fun, still hands-on, and ended with something genuinely worth the wait. Ice cream felt like the obvious answer.
This is the recipe we used — a no-egg, no-cook base that’s easy enough for little hands to help with from start to finish, made in our KitchenAid with the freezer bowl attachment. Strawberries and mini chocolate chips folded in at the end. Kota and Xylo got to cut the strawberries themselves with their kid-safe knives and pour everything into the bowl — which, if you’ve ever handed a toddler a measuring cup of milk, you know is its own kind of chaos.
If you’re making this with kids, buy more strawberries than the recipe calls for. That’s all I’ll say.
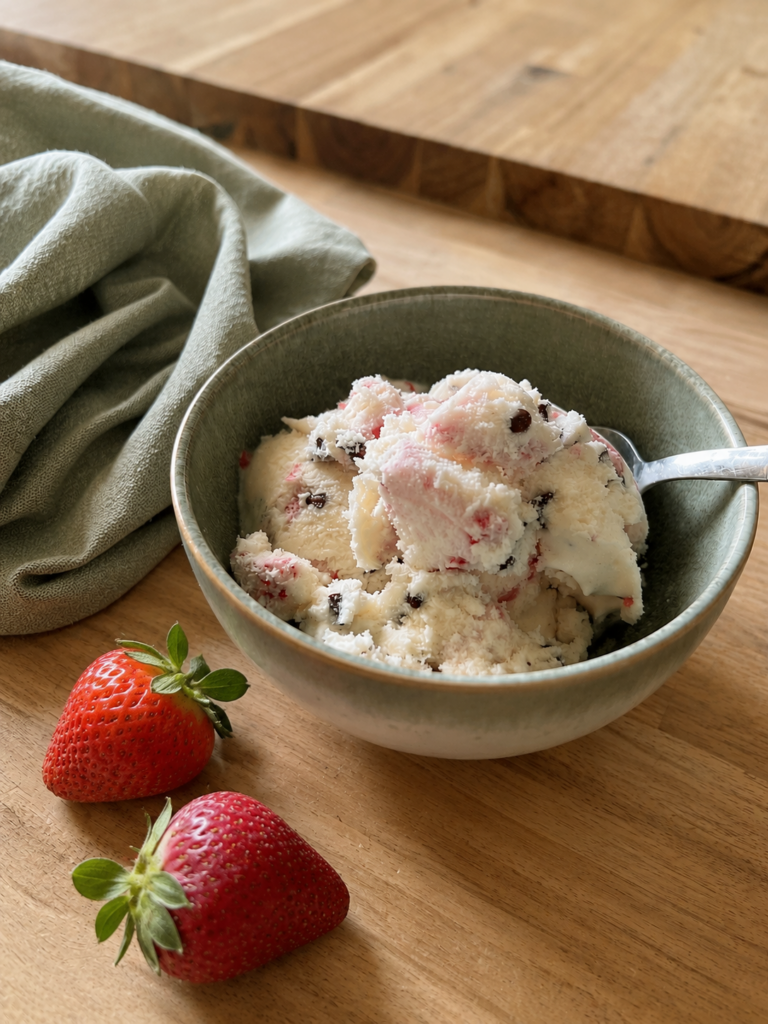
Strawberry Chocolate Chip Ice Cream
Ingredients
- 1 cup heavy whipping cream
- 2 cups whole milk
- 3/4 cup sugar
- 2 teaspoons vanilla extract
- 1 pinch of salt
- 1 cup fresh strawberries, hulled and roughly chopped
- 0.5 cups mini chocolate chips
Directions
- Freeze the bowl. Your KitchenAid ice cream bowl needs at least 15 hours in the freezer before you start. Give it a shake — if you hear sloshing, it’s not ready yet.
- Mix the base. Whisk together the milk, sugar, and salt until the sugar fully dissolves, about 2 minutes. Stir in the heavy cream and vanilla. No cooking required for this version — which made it easy to let the kids pour everything in themselves without any hot stovetops to worry about.
- Chill. Cover and refrigerate the base for at least an hour (overnight works too, if you want to get ahead of it). The colder the base, the creamier the result.
- Prep the strawberries. This was Kota and Xylo’s job — hulling and roughly chopping with their kid-safe knives. You want real chunks, not a fine mince. If the strawberries are especially juicy, pat them dry first so they don’t water down the ice cream.
- Churn. Attach the frozen bowl and dasher, set to Speed 1, and pour in the chilled base. Churn for about 20–22 minutes, until it reaches soft-serve consistency.
- Add the mix-ins. In the last 2–3 minutes, add the strawberries and chocolate chips through the top opening and let the dasher fold them in. Don’t over-churn after this point — just enough to distribute evenly.
- Freeze to firm. Transfer to a freezer-safe container, press plastic wrap directly onto the surface to keep ice crystals away, and freeze at least 2 hours before scooping.
A few notes from our kitchen:
This version uses a bit less cream and more milk than a classic custard-style ice cream, so the texture comes out slightly lighter and icier rather than dense and rich — still completely workable in the KitchenAid, just best eaten within a few days rather than stored long-term in the freezer.
If you want a chocolate swirl instead of chips, warm a quarter cup of hot fudge until pourable and layer it in as you transfer the ice cream to your container, swirling with a knife before freezing — don’t add it during churning, since the cold will seize it up into clumps instead of swirling smoothly.
And if you want the strawberries to taste even more like strawberries: toss the chopped pieces with a teaspoon of sugar and let them sit for 10 minutes before adding them in. It pulls the juice out and deepens the flavor.